Gemstone Exhibitions: A Feast for the Eyes
August 18, 2025
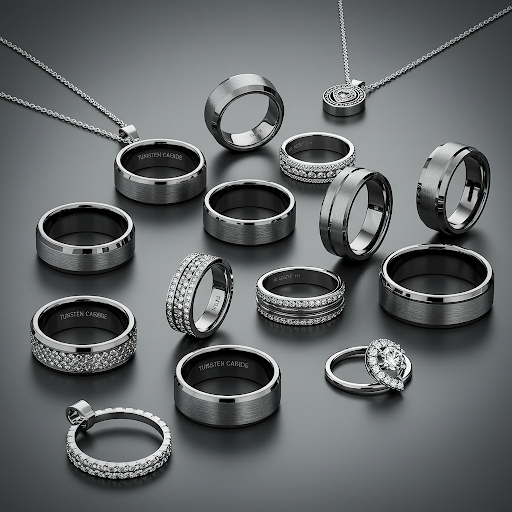
Designer Jewelry: Wearable Masterpieces
August 20, 2025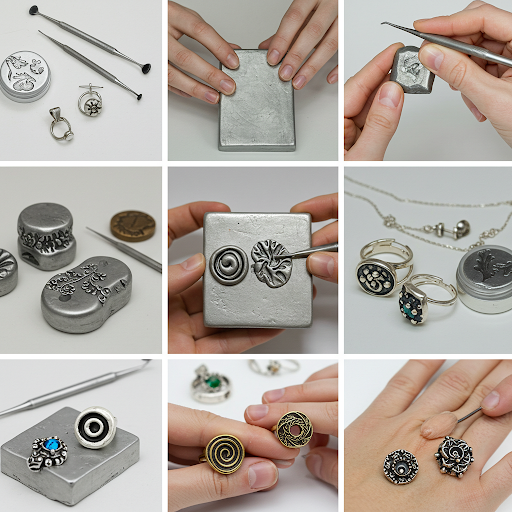
Hi friends, I’m Chuong Gems from Vietnam. Today, I’m excited to share with you everything about metal clay jewelry techniques – a fascinating method that combines the beauty of precious metals with the flexibility of clay.
Introduction to Metal Clay in Jewelry Making
Metal clay is a remarkable material that has revolutionized the jewelry-making industry. It consists of microscopic particles of metal mixed with an organic binder and water. When fired at high temperatures, the binder burns away, leaving pure metal behind.
Popular Types of Metal Clay and Their Applications
Let me introduce you to the most common types of metal clay:
- Fine Silver Clay (PMC): Perfect for creating intricate designs and delicate pieces. It fires to 99.9% pure silver.
- Art Clay Silver: Known for its strength and flexibility when working with it.
- Bronze Clay: A more affordable option that offers a beautiful warm color.
- Copper Clay: Great for beginners due to its lower cost while still providing excellent learning opportunities.
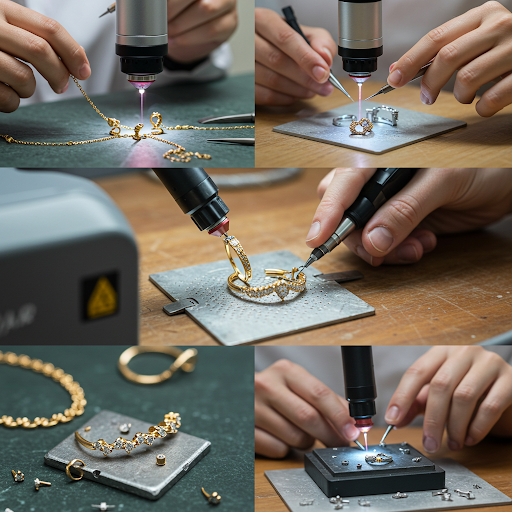
Step-by-Step Guide to Metal Clay Sculpting
From my years of experience working with metal clay, here’s what I’ve learned about the sculpting process:
- Preparation: Start with clean hands and tools. Condition the clay by kneading it until it’s soft and pliable.
- Basic Forming: Roll out the clay to desired thickness using spacers for consistency.
- Texturing: Apply textures using tools, stamps, or natural materials while the clay is still moist.
- Cutting and Shaping: Use cutters or craft knives to create your desired shapes.
- Refining: Smooth edges and perfect details while the clay is still workable.
Finishing Techniques and Product Creation
After the initial forming, these crucial steps follow:
- Drying: Allow pieces to dry completely – this usually takes 24 hours.
- Pre-firing Finishing: Sand and refine the dried piece carefully.
- Firing: Follow the specific firing schedule for your type of metal clay.
- Post-firing Finishing: Polish, patina, or add other decorative finishes.
Tips and Tricks to Enhance Your Metal Sculpting Skills
Let me share some valuable tips I’ve learned along my journey:
- Keep your clay moist: Use a small amount of water or clay hydrator to prevent drying while working.
- Create templates: Make paper or plastic templates for consistent shapes and sizes.
- Layer properly: When joining pieces, score and slip the surfaces for strong bonds.
- Test firing schedules: Different pieces may require different firing times – always test with small samples first.
Remember, like any craft, working with metal clay requires patience and practice. Don’t get discouraged if your first pieces aren’t perfect – every artist started somewhere!
If you have any questions about metal clay techniques, feel free to ask in the comments below. I’m always happy to share my knowledge and experiences with fellow jewelry enthusiasts.